

Direct answer
Crimson Moon Weapon Arts define how otherwise similar weapons control space, apply status, attack at range, or provide defense. Choose an Art for its role in the whole build, then support its Mana use, cooldown, targeting, and safe casting window.- Primary resource
- Mana
- Frost Art
- Winter Solstice
- Ranged examples
- Impaling Throw and Homing Projectiles
Weapon Arts as build-defining abilities
Crimson Moon Weapon Arts give equipped weapons active abilities beyond their normal light and heavy attacks. The official build explanation treats them as one of the four major pieces shaping a build alongside gear, temporary Boons, and an Angel. A captured beginner guide stresses that two weapons with similar Base Attack can play very differently because their Arts provide different reach, control, status, or defensive utility. Choosing a weapon therefore means choosing both its attack pattern and the tactical option attached to it.
A useful Art solves a problem that the rest of the loadout cannot answer reliably. It may create a ranged attack, control a group, apply a status, establish a damage zone, or provide defense during a dangerous sequence. The best choice is not always the ability with the loudest damage claim, because activation time, Mana use, cooldown, and targeting all affect practical value. A coherent build makes the Art part of a repeatable loop instead of saving it for a situation that rarely occurs.
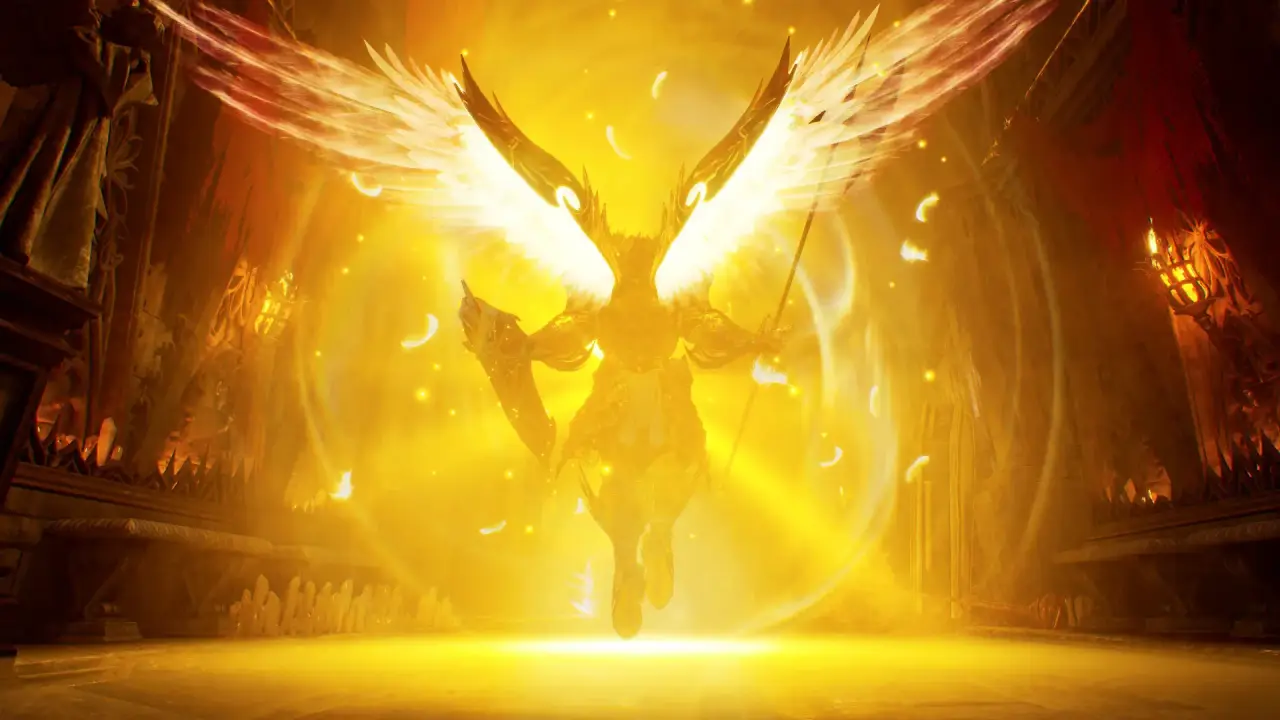
Weapon selection beyond Base Attack
The collected guides repeatedly warn against replacing a weapon only because its displayed Base Attack or rarity is higher. Its Weapon Art, passive effect, activation condition, status application, and relationship with the other equipment can outweigh a modest stat difference. A lower-numbered weapon may preserve the control or ranged option keeping the run safe. Before swapping, compare what combat action disappears, what new resource demand appears, and whether existing Boons can support the new Art.
Winter Solstice and damage-zone support
Winter Solstice is the central Art in the captured Crescent Moon Halberd examples. Sources describe it as creating Frost fissures or a wedge of ice that travels across the ground, damaging and freezing enemies in its path. It can control ordinary groups and create a large opening against elites when aimed from a safe position. The casting animation can be interrupted, so the ability works best after the target completes an attack rather than as a panic response during incoming pressure.
Aftershock Technique is repeatedly paired with Winter Solstice because qualifying damage-zone Arts fire again when that effect is active. Additional Mana and Cold or elemental support help the build use the Art more comfortably, while a defensive option covers its downtime. Creator claims about one-shotting targets or defeating bosses in a fixed number of casts depend on gear and version. The reliable lesson is the interaction between a damage-zone Art, a repeat effect, resource support, and deliberate timing.
Reaper Pole Axe Art pairing
A separate starter build equips a two-handed Reaper Pole Axe with Judgment of Winter and Homing Projectiles. Judgment of Winter adds Frost through heavy attacks, connecting the weapon's committed melee option to a control plan. Homing Projectiles launches a homing orb that fires projectiles toward enemies and provides Fire damage at range. The pairing gives one weapon both a close-range status route and a way to maintain pressure when approaching directly would be unsafe.
This Pole Axe setup should not be merged with the Crescent Moon Halberd simply because both builds use Frost. Their named Arts, triggers, and combat loops are distinct, and the sources present them as separate equipment plans. Frostbound Charge and Winter Sun further support the Pole Axe variant through Sprint Attacks and nearby control. A player adapting the setup should preserve the relationship between mobile engagement, heavy-attack Frost, and ranged coverage rather than copying only one isolated name.
Ranged pressure and defensive coverage
Impaling Throw is described in the beginner guide as throwing a weapon at an enemy before recalling it, providing damage from a safer distance. Another captured creator uses Gouging Throw as a quick ranged option that can inflict Bleed, particularly against enemies that are awkward to approach. Homing Projectiles serves a similar coverage role within the Reaper Pole Axe build. These examples show why an Art's reach can matter as much as its raw output when the loadout would otherwise be entirely committed to melee.
A shield Art such as Empower appears in one Frost build as a way to improve defense and support damage before casting Winter Solstice. The sources do not establish that one shield or ranged Art is universally best, because the needed coverage changes with the rest of the loadout. A player already carrying reliable ranged pressure may benefit more from defense or control. Choose the secondary Art to solve a missing combat role, not to duplicate an option the build already handles comfortably.
Mana, cooldowns, and casting economy
Weapon Arts consume Mana, so an ability that cannot be funded consistently may be less useful than a modest alternative with better uptime. Captured Frost guides add Mana through equipment effects and use recovery to support repeated casting. A large resource pool still does not eliminate cooldowns or the danger of an interrupted animation. Normal melee attacks, blocks, parries, and movement remain part of the loop while the Art is unavailable or the next opening has not arrived.
One creator estimates a cooldown for Winter Solstice, but the statement is explicitly uncertain and should not become a fixed number in a guide. Cooldowns, costs, and balance can change through patches or vary with the equipped effects. The practical rule is to observe the live interface, preserve enough Mana for the encounter's dangerous moment, and avoid spending every option on harmless targets. Resource discipline makes a powerful Art dependable without pretending it can be used continuously.
Targeting, positioning, and safe timing
A strong Art still fails when it misses, begins from a poor angle, or is interrupted before the effect appears. Captured guidance recommends locking on for important Winter Solstice casts and moving close enough to aim the ground path reliably. It also warns that large enemies and camera movement can make targeting harder, especially in patch-sensitive boss encounters. Wait for a committed enemy animation to finish, establish the angle, cast, and leave before assuming the control window will last.
Ranged Arts reduce the need to approach but still depend on target acquisition and clear space. One beginner walkthrough notes that a ranged attack can miss when the intended enemy is not properly targeted. Defensive Arts also need timing because activating protection after an attack has already landed does not recover the lost opening. Practice each Art's startup, direction, and recovery against familiar enemies so the input sequence is known before a run reaches its highest-risk encounters.
Purification, discovery, and future loadouts
Weapon Arts are discovered through equipment, and successful hunts allow useful gear to be purified into the permanent collection. That progression expands the Arts available when assembling a later starting loadout. A purified item creates a dependable foundation, while equipment found during the next hunt may arrive with additional effects that make another Art temporarily stronger. Early progression should therefore prioritize securing flexible options rather than waiting for one perfect endgame combination.
Co-op roles and evidence limits
The official build explanation says co-op partners can coordinate complementary loadouts and Boons without selecting formal tank, healer, or damage classes. One player can use control or defense to create an opening while the other applies a ranged Art or commits to damage. Shared planning is most useful when the pair covers different risks rather than duplicating the same cooldown and resource weakness. Dynamic co-op difficulty means coordination adds options but does not turn every Art into a safe choice.
The captured collection does not provide a complete catalog of every weapon, Art, cost, cooldown, or interaction in the live game. Several detailed sources rely on automatic captions, and exact equipment names can be transcribed inconsistently. Creator demonstrations identify promising combinations but do not prove universal rankings or fixed damage results. Use the named examples as tested patterns, confirm the live tooltip before copying numbers, and keep current patch behavior separate from launch-period observations.