

Direct answer
Crimson Moon runs consist of three missions followed by a World Boss. You gather temporary Boons and unpurified equipment during the hunt, then make selected gear permanent by completing the run and purifying it at Sanctus Clypeus.- Full run
- 3 missions + 1 World Boss
- Temporary power
- Nexus Gate Boons
- Permanent progress
- Purified equipment
The complete hunt loop
A hunt begins at Sanctus Clypeus, where you choose equipment, consumables, and an Angel before using the War Table. The current official explanation describes a full run as three missions followed by a World Boss. Returning to the hub between those missions does not finish the run, so preparation before the first mission matters.
Inside a mission, you clear objectives, fight enemies, explore the Ward, and collect equipment that can change the current build. Nexus Gates offer temporary Boons that remain active for the rest of that hunt. A completed run turns selected discoveries into permanent options through purification, creating the link between one run and the next.
Missions, Wards, and the World Boss
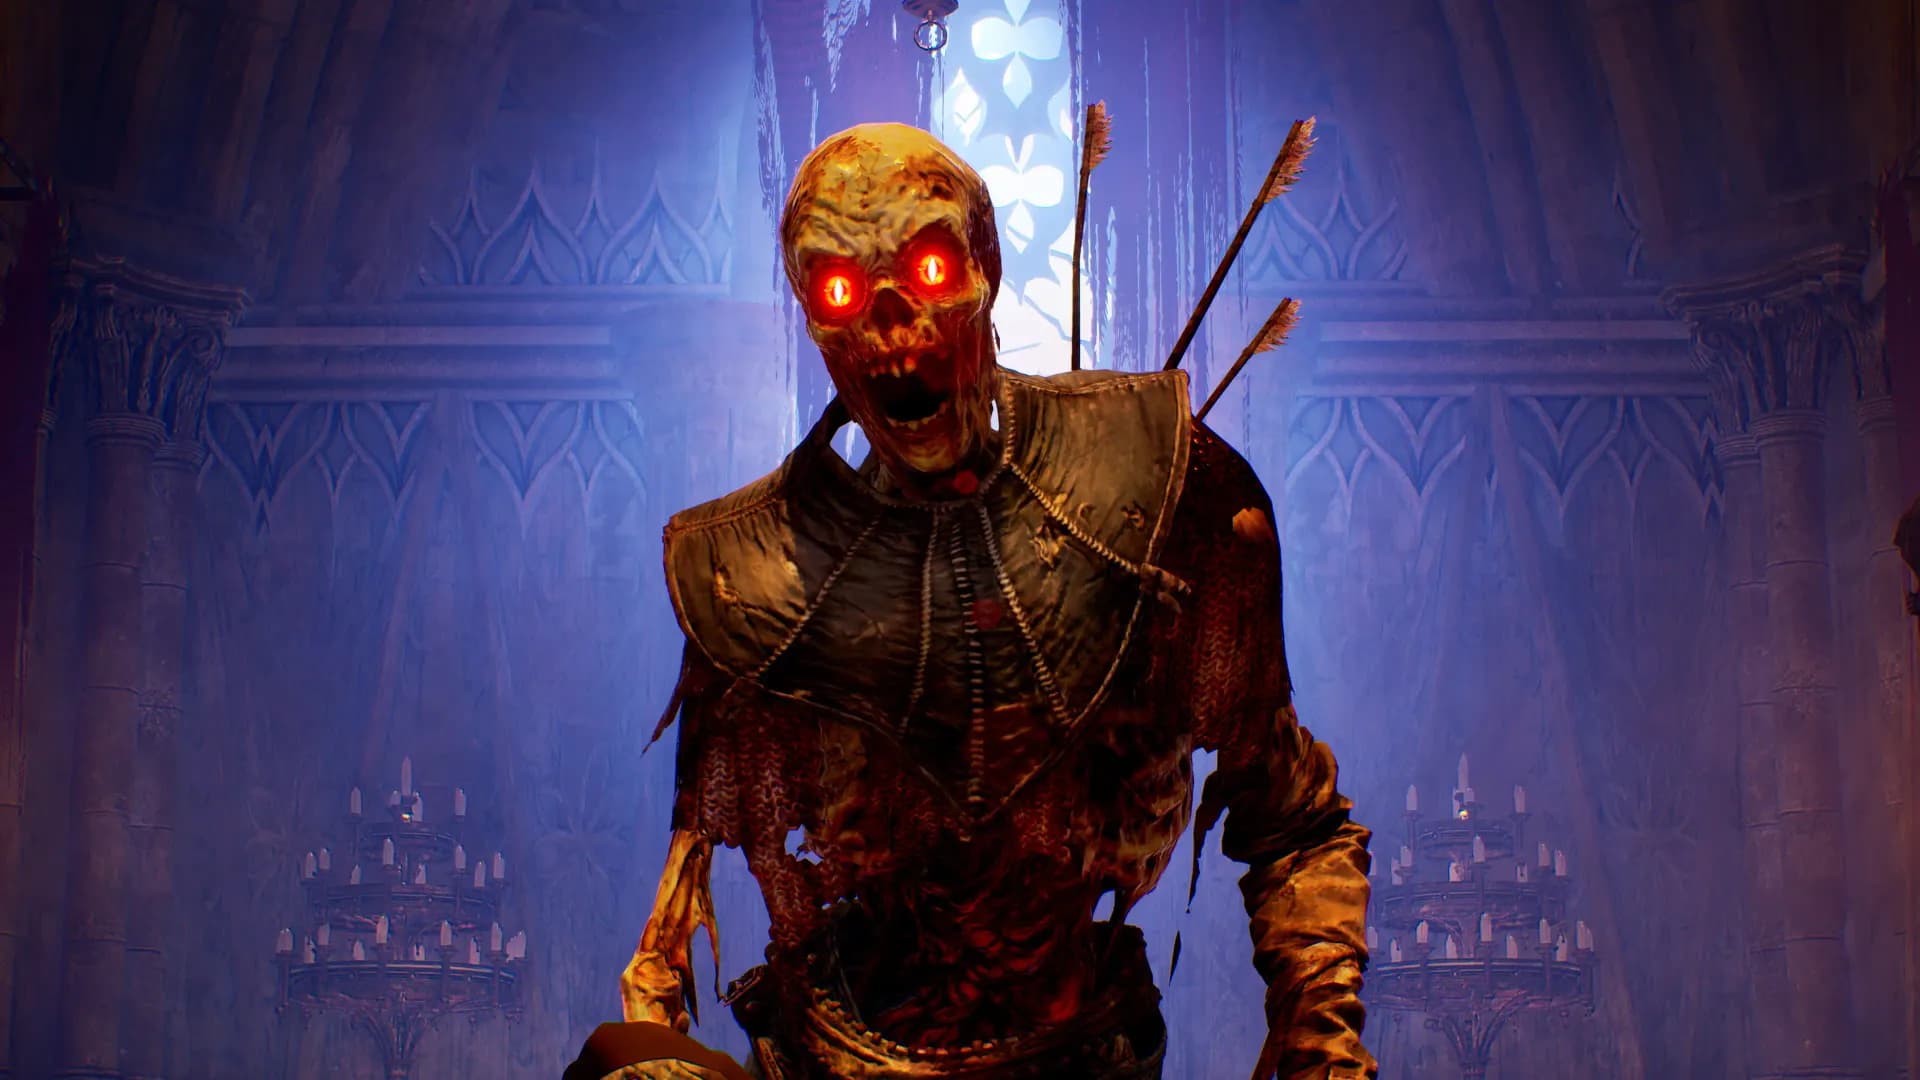
Each run is divided into missions rather than one uninterrupted level. A mission has objectives, enemy encounters, exploration opportunities, loot, and a boss before the player returns to Sanctus Clypeus. The official post-launch explanation says the active run continues across three missions and then ends with a World Boss encounter.
The short return to the sanctuary is not a full reset. The Loadout Station remains unavailable while the run is active, which means newly found gear supports the current attempt but does not let you rebuild from the permanent collection between every mission. Older preview layouts described demo content differently, so the launch structure should be used for current guidance.
The nine-piece loadout
The official build guide defines a complete loadout as nine gear pieces. It includes four armor pieces, two trinkets, a one-handed weapon with a shield, and a two-handed weapon. Players also select an Angel and carry two consumable slots before leaving the sanctuary.
That structure lets one loadout cover defense, reach, active abilities, passive effects, and recovery without selecting a permanent class. A shield can provide a safer response while the second weapon offers heavier attacks or broader control. The strongest choice depends on how the pieces interact, not only on the rarity color or one headline number.
Why exploring a Ward matters
Rushing directly toward a boss can leave useful progression behind. Captured official and guide material points to chests, elite enemies, Lore Scrolls, equipment, and mission rewards as reasons to search each area. Those discoveries can strengthen the current run or widen the options available in later hunts.
Lore Scrolls are particularly different from a temporary combat pickup. Returning them expands the pool of Boons that may appear in future hunts, while a Nexus Gate choice helps only the active hunt. The collected sources do not provide a complete map of every chest or Scroll location, so exact spawn routes remain To be confirmed.
Temporary Boons and future unlocks
Nexus Gates present Boons during a hunt, and the chosen effects last for the remainder of that run. A Boon can strengthen the original plan or redirect the build around equipment found in the field. It should not be described as a permanent class talent or a guaranteed option at the start of every hunt.
Lore Scrolls affect the future pool instead of granting a permanent copy of the current Boon. Returning Scrolls to the Librarian unlocks additional possibilities for later runs. The distinction is simple: a Nexus Gate selection changes this hunt, while a recovered Lore Scroll expands what future hunts may offer.
What a failed mission removes and keeps
Failure does not erase every form of progress. The captured beginner guide says experience and Gold remain available, while equipment recovered during the unsuccessful run is lost if it was not purified. Your previously unlocked permanent collection therefore remains the safe foundation for another attempt.
This distinction explains why a strong drop is not automatically a permanent possession. The item must survive the run and go through the purification process before it joins the collection. Exact edge cases around disconnects or technical failures are not established by the collected sources and remain To be confirmed.
How purification creates permanent progress
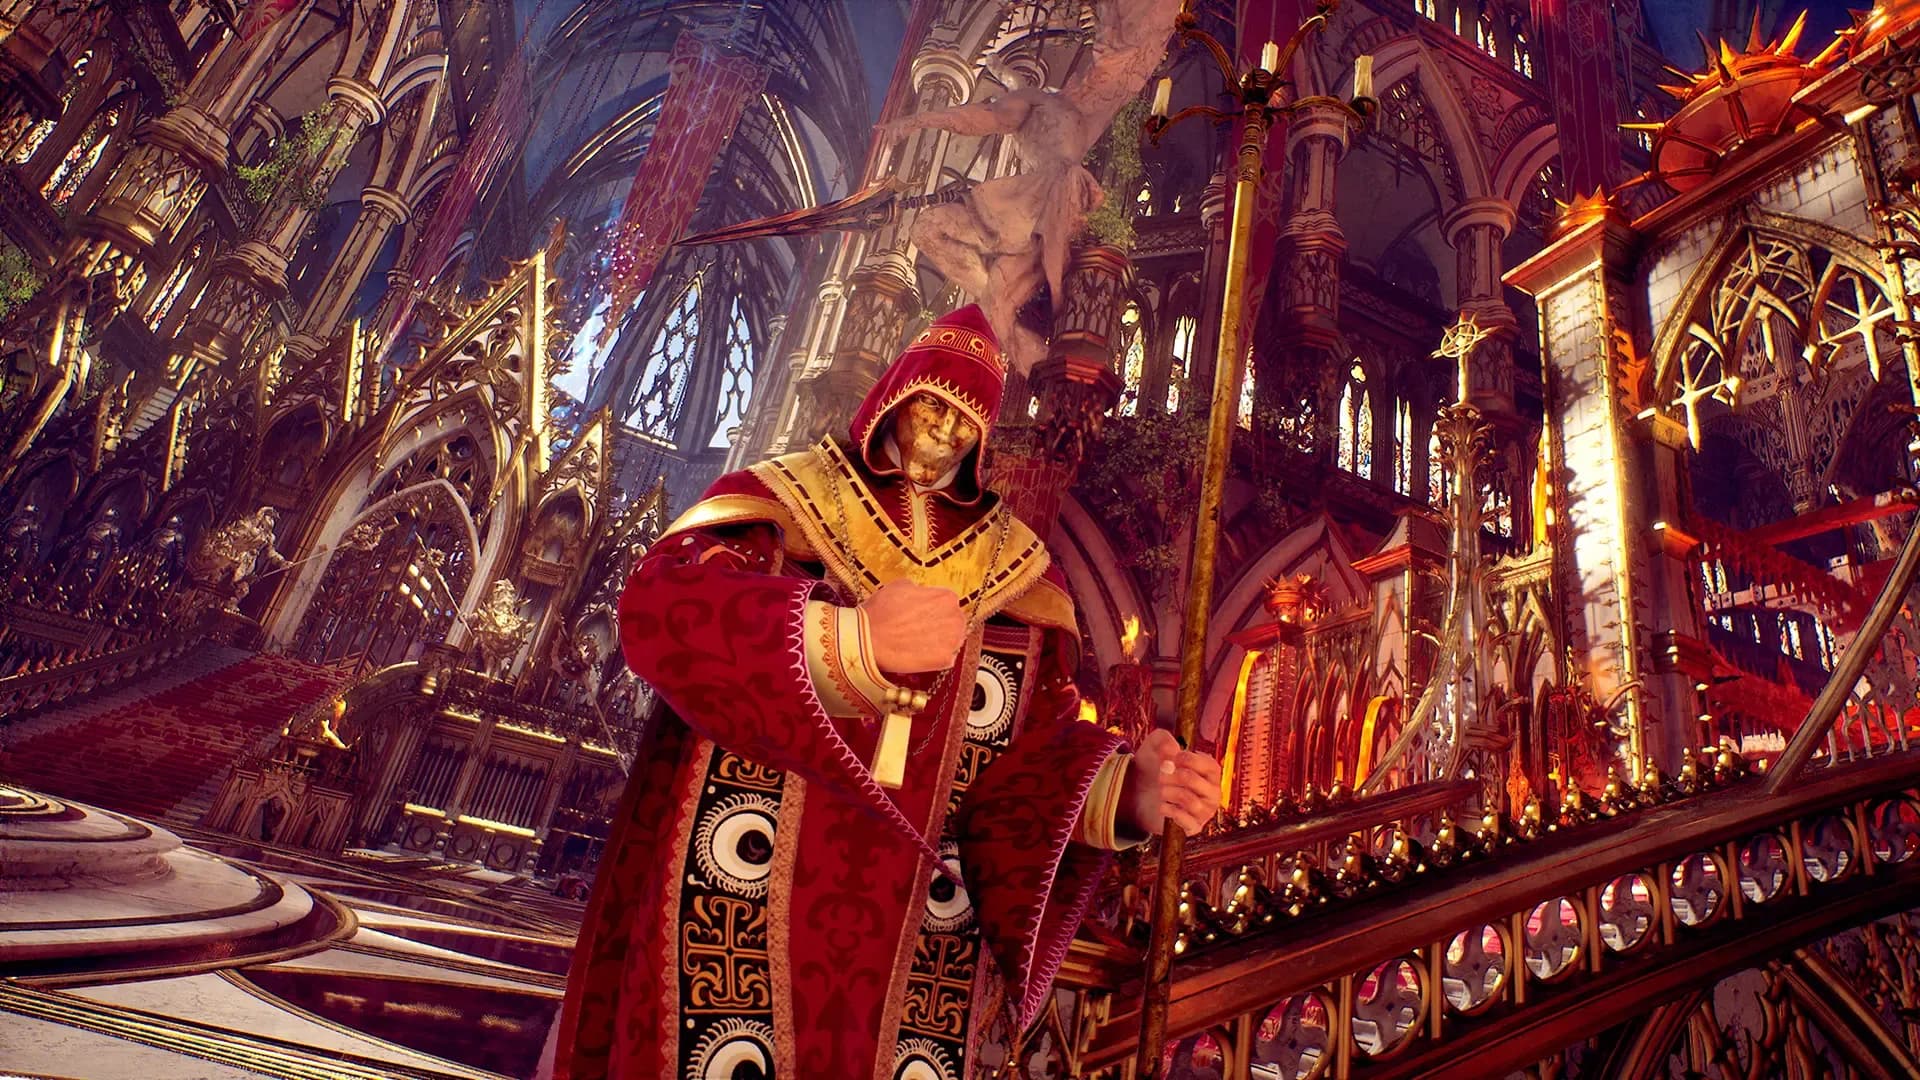
Equipment found in Gildenarch begins as run loot rather than a permanent unlock. After a successful hunt, purification at Sanctus Clypeus adds the item to the permanent collection so it can support later starting loadouts. The official support material describes this as the boundary between temporary field power and lasting account progress.
A purified item starts from its collection version instead of preserving every random property of the copy found during the run. Upgrades at the Blacksmith can improve the minimum quality at which the item appears later. That makes purification valuable for widening future choices, while deeper-run drops can still replace starting equipment during an individual hunt.
Difficulty, scaling, and better rewards
Crimson Moon lets players select harder mission conditions as they progress. Official store copy connects rising difficulty with greater rewards, while captured guide material associates harder play with more experience and better-rarity equipment. The sources do not establish a universal drop table or exact percentage increase for every tier.
Co-op also uses dynamic scaling, so adding a second player is not presented as an automatic easy mode. The official support guide says difficulty and enemy composition adjust to party size. Players should judge a difficulty step by survival consistency and useful returns rather than assuming that the highest unlocked setting is always the efficient choice.
How this page treats changing information
Crimson Moon launched recently, so store data, patch behavior, community activity, catalog inclusion, review totals, and promotions can change quickly. This guide separates stable mechanics from dated snapshots and labels unresolved claims To be confirmed. A newer official support article or platform listing outranks an older community guide when they disagree.
The source list records where each claim came from instead of treating a search snippet as proof. Blocked pages, unavailable captions, and missing fields remain evidence gaps. Readers making a purchase, account, or redemption decision should open the linked official source and check its current date, region, and platform conditions.
Frequently asked questions
Can I change my permanent loadout between missions?
The official launch explanation says the Loadout Station remains unavailable while the active run continues.
What happens to unpurified equipment after failure?
The captured beginner guide says unpurified equipment from that failed run is lost, while experience and Gold remain.
Sources and evidence
Store, support, and captured guide references used for this page.