

Direct answer
Crimson Moon has five documented difficulty tiers: Easy, Standard, Hard, Challenging, and Hellish. The choice is locked at the War Table for a full run, higher tiers unlock through World Boss and Final Boss victories, and tougher conditions offer better potential experience, Gold, and loot.- Difficulty tiers
- 5
- Default tiers
- Easy and Standard
- Highest tier
- Hellish
Difficulty selection at the War Table
Difficulty is selected at the War Table in the hub before a new run begins. The captured difficulty guide says the choice is made before selecting the first mission and remains locked until that run ends. Players cannot use the return between missions to lower or raise the tier for the next stage of the same attempt.
This lock makes the opening decision part of loadout planning rather than a menu preference that can be corrected after every encounter. Choose the tier after checking the starting gear, preferred Weapon Arts, defensive coverage, and the group's recent completion consistency. The sources do not describe an exception for a disconnect, a resumed save, or a restarted mission, so those edge cases should remain unconfirmed.
The selected tier applies across the connected mission sequence rather than being chosen independently for every Ward. Returning to the hub during an active run does not create documented permission to replace the setting before the next mission. Players who want a different tier should finish or end the current attempt according to the live interface, then make the new selection before another run.
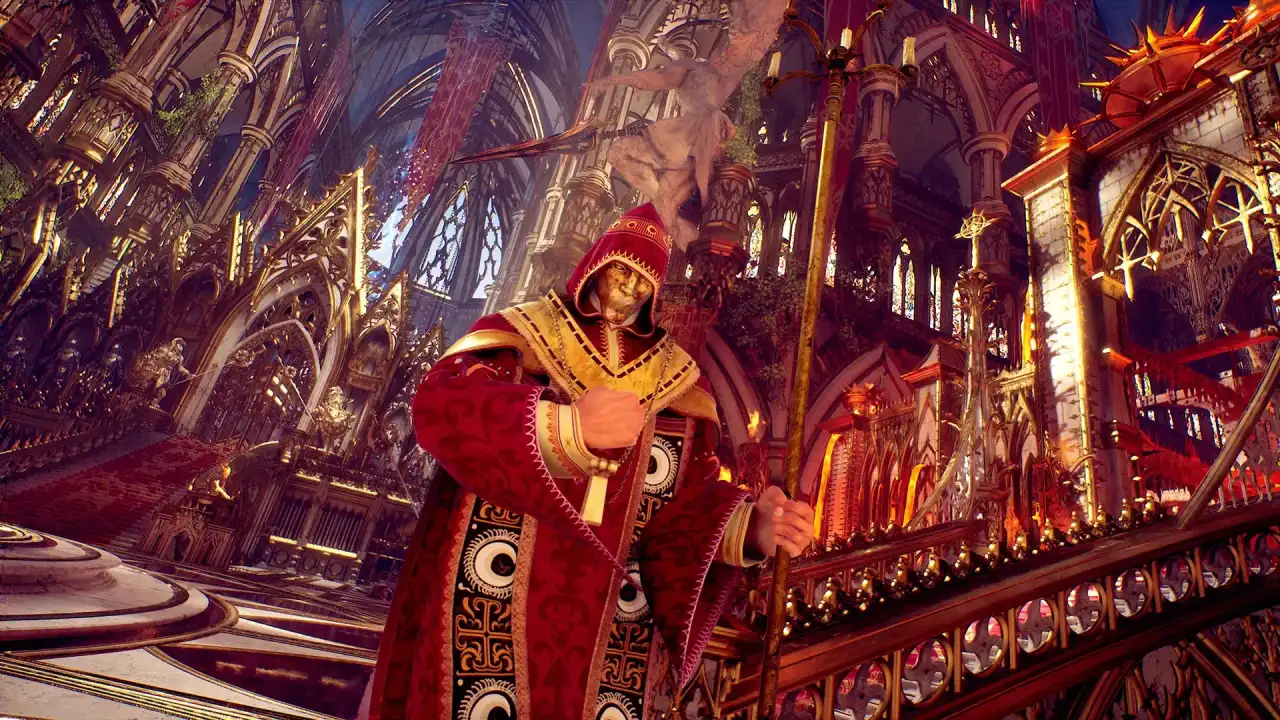
The five-tier unlock order
Easy and Standard are available by default in the captured September 13 guide. Hard unlocks after defeating the first World Boss in Mission IV, Challenging after defeating the second Mission IV World Boss, and Hellish after defeating the Final Boss. This order ties difficulty growth to major progression victories instead of character level alone.
The two Mission IV routes lead to E'frae, The Dry Rot King, and Mahkteah, The Lord of Perdition, while the final encounter is Felwyl, The Ascended. Those names help explain the unlock milestones, but this page does not have evidence for their combat phases or recommended builds. Difficulty access should therefore be stated as a progression map, not expanded into unsupported boss advice.
The order of the two World Boss victories does not receive an alternate unlock table in the captured material. It identifies Hard with the first cleared World Boss and Challenging with the second, which makes the player's progress count more important than assuming one named boss always unlocks one named tier. Do not assign Hard or Challenging to a specific route without a current interface confirmation.
| Tier | Unlock | Documented direction |
|---|---|---|
| Easy | Available by default | Fewer Elite enemies, lower damage pressure, lower rewards |
| Standard | Available by default | Baseline enemy pressure and rewards |
| Hard | First Mission IV World Boss | More Elite enemies, higher pressure, improved rewards |
| Challenging | Second Mission IV World Boss | Fewer lives, greater pressure, Epic loot can appear |
| Hellish | Final Boss | Smallest life margin, highest pressure, Legendary loot can appear |
Easy and Standard foundations
The captured comparison presents Easy as the least punishing starting tier and Standard as the baseline experience. Easy is described with fewer Elite enemies, lower incoming damage, lower experience and Gold gains, and a narrower early loot range. Standard is described with the normal enemy pressure and reward baseline used to compare the higher tiers.
Those descriptions show direction rather than exact mathematical values. No captured source gives an enemy-health multiplier, damage percentage, currency formula, or guaranteed item count for either tier. New players can use Easy to learn timing or Standard to learn the baseline loop, but the guide should not claim that either setting is the universally correct first choice.
Hard and Challenging progression
Hard becomes available after the first Mission IV World Boss and is described as adding Elite enemies, increasing damage taken, and improving experience, Gold, and loot quality. Challenging follows the second World Boss and raises the pressure again, with Epic loot entering the captured reward description. The same comparison says Challenging reduces the available life budget by two relative lives.
The source does not define every baseline behind those labels, so a two-life reduction should not be converted into a total life count without checking the interface. It also does not provide drop rates or promise an Epic item in every mission. The safe conclusion is that Hard and Challenging trade a smaller margin for error for access to stronger potential progression.
Hellish after the Final Boss
Hellish unlocks after the Final Boss and is the highest tier identified by the captured guide. Its snapshot describes the greatest Elite presence, the highest incoming damage, increased experience and Gold, Legendary loot availability, and three fewer lives. Availability means the rarity can appear under the captured rules; it does not guarantee a Legendary reward from every boss, chest, or run.
A high-tier build video demonstrates that players can clear Hellish with a coherent Frost setup, but one creator's result does not establish a universal best build or difficulty formula. Balance changes can alter item interactions, enemy behavior, and reward efficiency after the capture date. Use creator demonstrations as examples of synergy while keeping the tier's exact combat values tied to the current version.
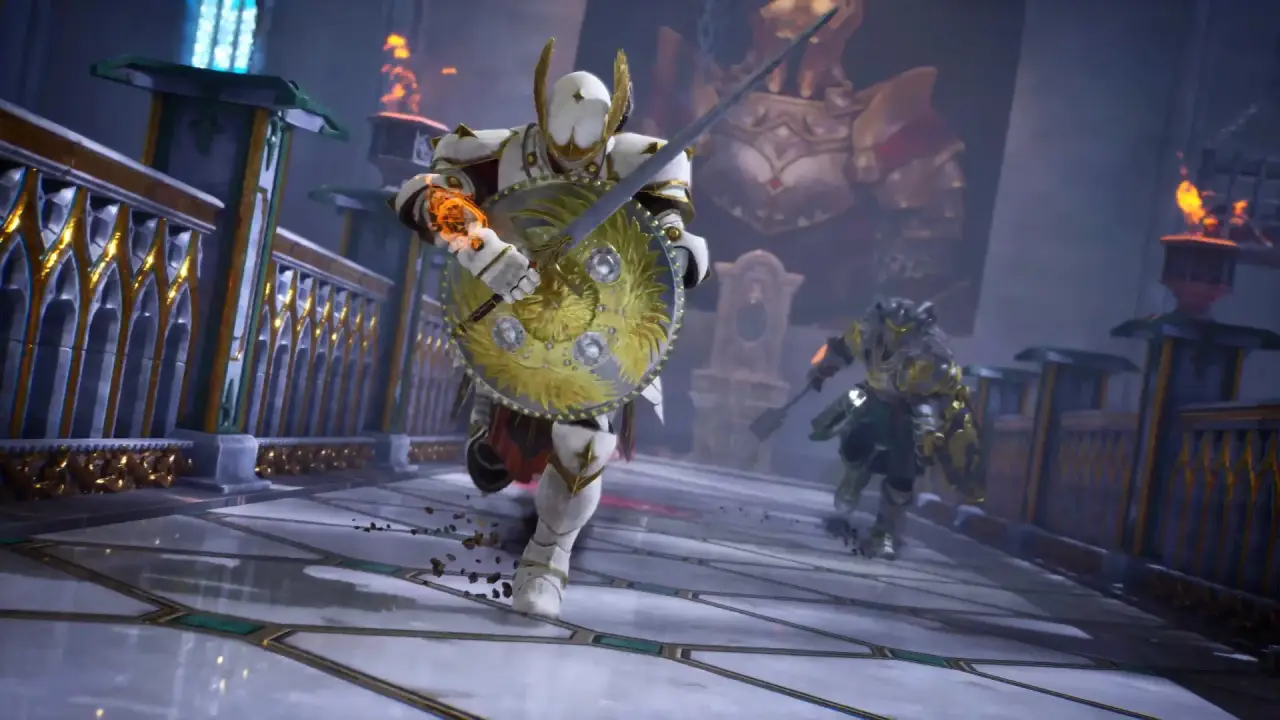
Experience, Gold, and loot rewards
Official beginner material confirms the broad reward curve: harder hunts contain tougher enemies and can award better loot, more experience, and rarer equipment. The Steam description independently connects higher customized difficulty with greater rewards. Together these sources support the direction of progression without supplying exact rates or a complete drop table.
Higher potential value does not make a failed run automatically efficient. Experience and Gold are reported to persist after failure, but unpurified equipment gathered during the attempt can be lost before it joins the permanent collection. Compare the time spent, the frequency of completed hunts, and the number of useful items safely returned rather than judging a tier only by its highest possible rarity.
The captured tier table uses rarity availability language that must not be rewritten as a fixed drop guarantee. Epic availability on Challenging and Legendary availability on Hellish indicate a possible reward ceiling in that snapshot, not a promised item from each chest or boss. Without published rates, completion reliability remains the only defensible basis for comparing personal farming efficiency.
Host choice and co-op scaling
In multiplayer, the host chooses the War Table difficulty for the run in the host's world. That selected tier remains locked just as it does in solo play, so the guest cannot independently select a different difficulty for the same session. Agreeing on the tier before the first mission prevents the pair from discovering too late that their builds have very different levels of readiness.
Co-op scaling is a second layer rather than another name for the five selectable tiers. The captured multiplayer guide reports that enemy composition and difficulty adjust when a second player joins, and a beginner guide says bosses scale for multiple players. No formula reveals how that adjustment combines with Easy, Standard, Hard, Challenging, or Hellish, so avoid publishing invented duo multipliers.
Choosing an efficient farming tier
The most useful difficulty is the highest tier that a player or duo can finish with reasonable consistency. A captured beginner guide recommends farming Hard when Challenging repeatedly ends the run, because completed hunts still provide Gold, experience, and equipment that can be purified. This is practical advice derived from the progression rules, not an official guarantee of one optimal farming route.
Move upward after the current tier stops consuming the life pool through ordinary mistakes and the starting loadout can support a coherent plan. Move back down when repeated failures prevent valuable field gear from becoming permanent, even if the higher tier advertises better possible rewards. Recheck the current War Table panel after patches because unlock conditions, life changes, and rarity wording can all change independently.
Judge the next tier across several runs instead of one unusually favorable or difficult attempt. Track whether the build survives Elite encounters, reaches the safe-return boundary with new equipment, and earns enough permanent progress to justify the added pressure. This comparison uses documented risk and reward categories without pretending that the unavailable XP, Gold, or drop-rate percentages can be calculated precisely.